How To Update Listing Information
Here we will cover the steps on how to update information for your listings, including property details, changing photo display order, and creating property flyers
Below you will find the steps necessary to access your Client Portal and update your listing content!
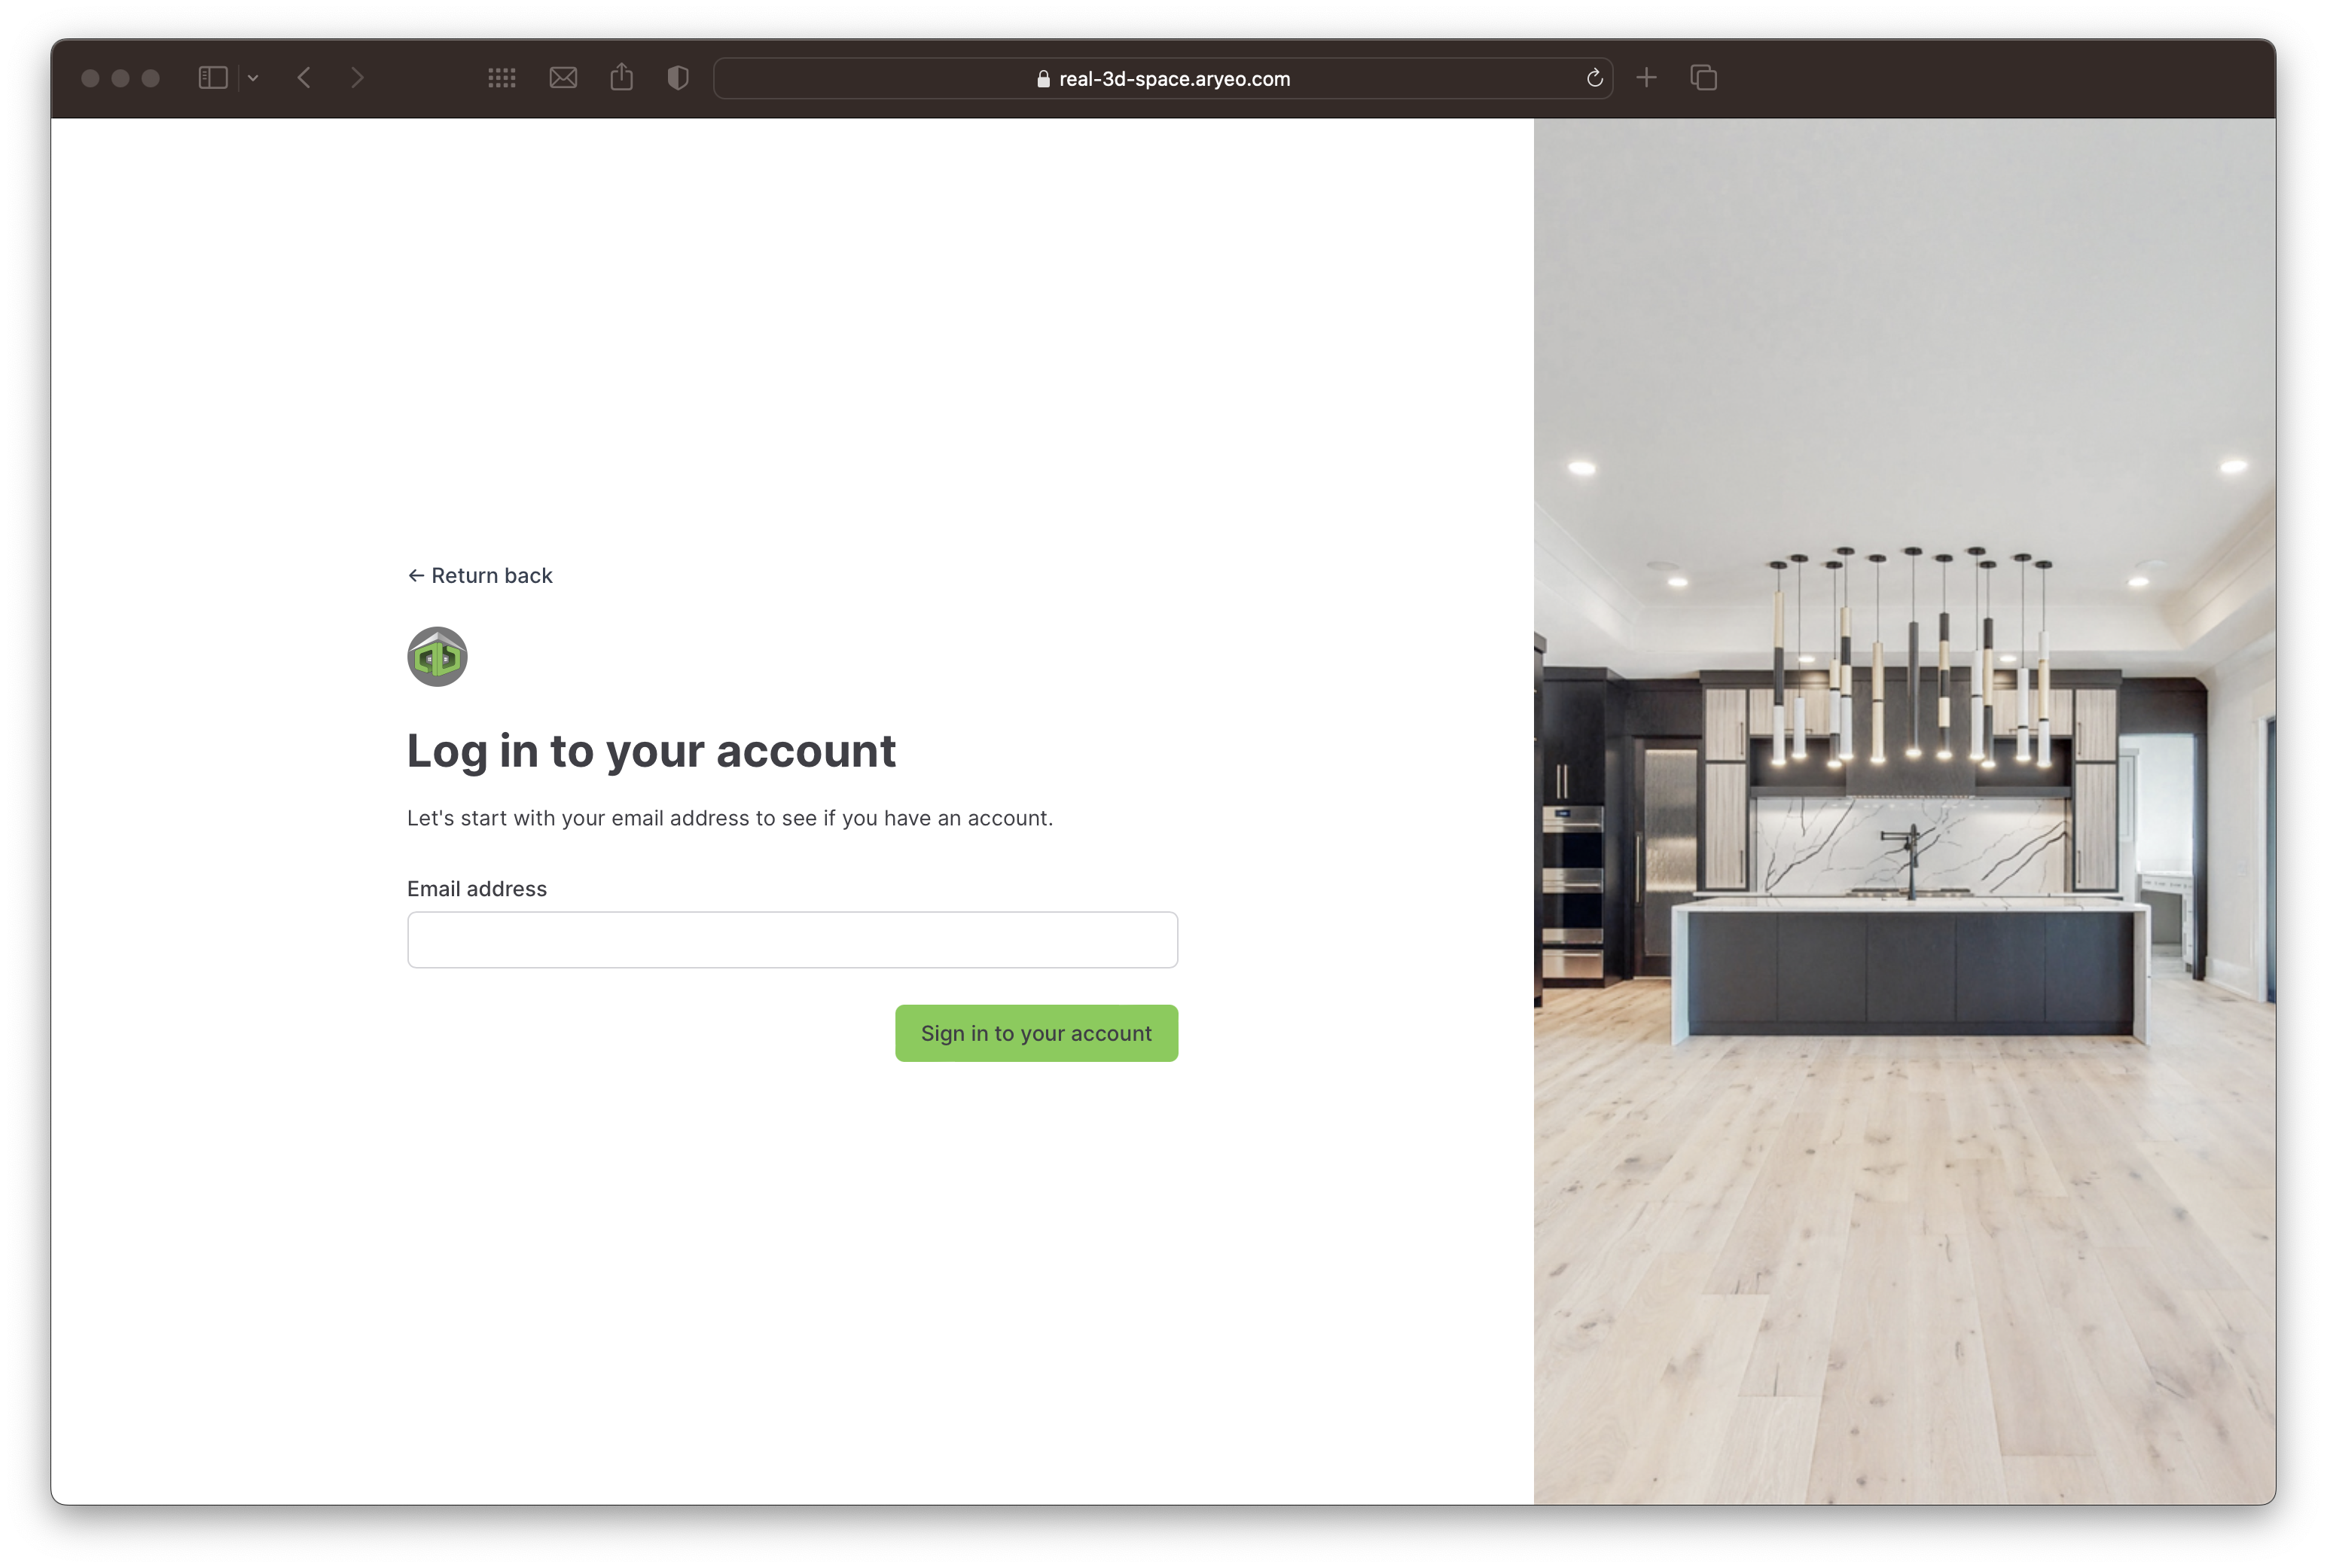
- Start by logging into your Client Portal. Use the same credentials used to book the appointment.

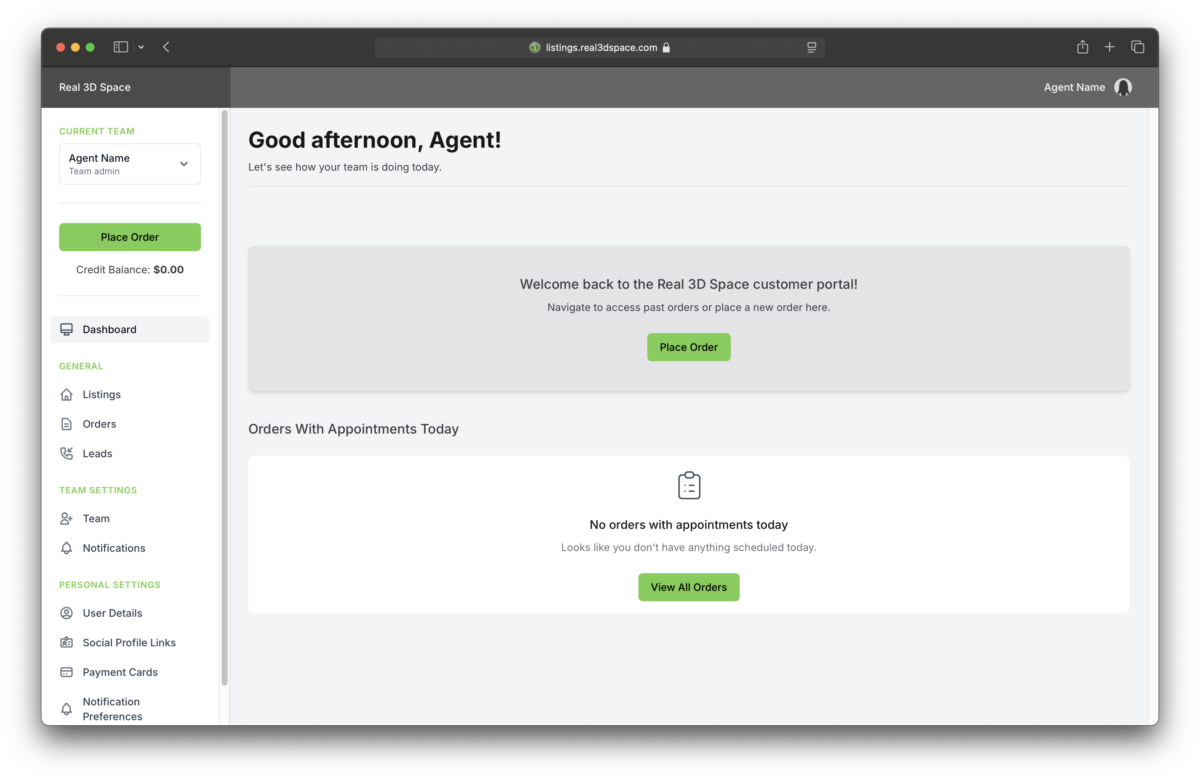
- Once logged in, you will see the main menu for your Client Portal on the left.
- In Dashboard view, place an order, view today’s appointments, view all orders, or access other menu options.

- In the Listings view, you will find all of your Listings.
- Here is where you will update the listing information for each of your Listings.

- Click on the Listing you want to update.
- The listing page will open with all sections collapsed.
- Click the down arrow on the right side of the section you want to update.

- Here you can edit Property Details, update the Property Website and Property Flyer, reorder images, and copy links as needed.
- Click the “Save” or “Update” button at the bottom of each section after making changes

- Clicking the “Rearrange” button on the Images section will open a window that will enable re-ordering the images
- Keep in mind the first image will be used as the Hero image on the property website

- The Marketing Materials section contains any property flyers that have been created
- Clicking the “Create” button in the Marketing Materials section will allow you to access our flyer creation tool which can be used to create additional flyers and marketing tools!

Suggested Uses


